
For concrete & masonry contact
Aqua Block®
Stop water. Protect concrete. Last longer.
For concrete basement belts, door and window frames, beams and columns. The job is a continuous separation layer between the concrete and everything it touches, so repairs come first.
- 6 steps
- 2 coats
- Direct apply
- Recoat 2–3 hrs
- Hard dry 5–8 hrs
Applying Aqua Block, step by step
-
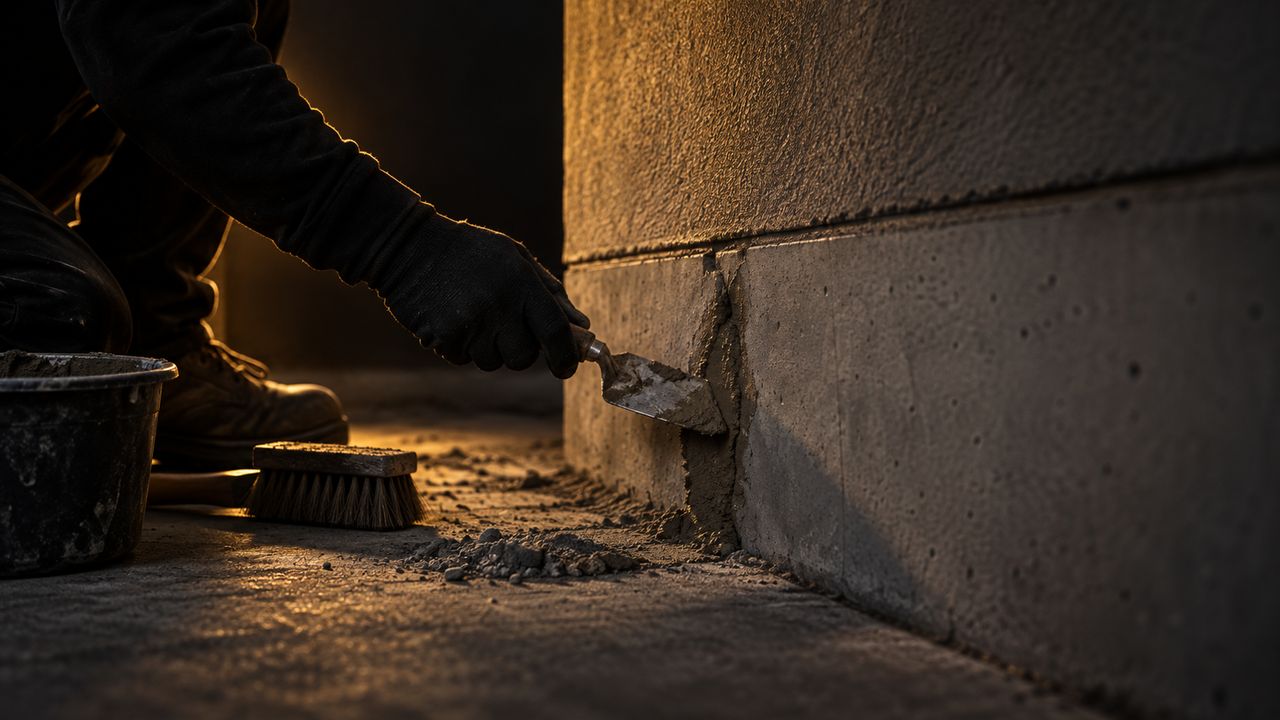
01 Step 1 of 6
Repair and prepare the concrete
The barrier can only be as continuous as the surface under it. Close the cracks, take off what is loose, and let it dry.
Repair cracks and damaged concrete before any coating goes on.
Brush off dust, laitance, loose particles, grease and oil.
The concrete must be dry — never coat over standing water.
Let fresh repairs set and dry out before you start coating.
Sound, clean, dry concrete
-
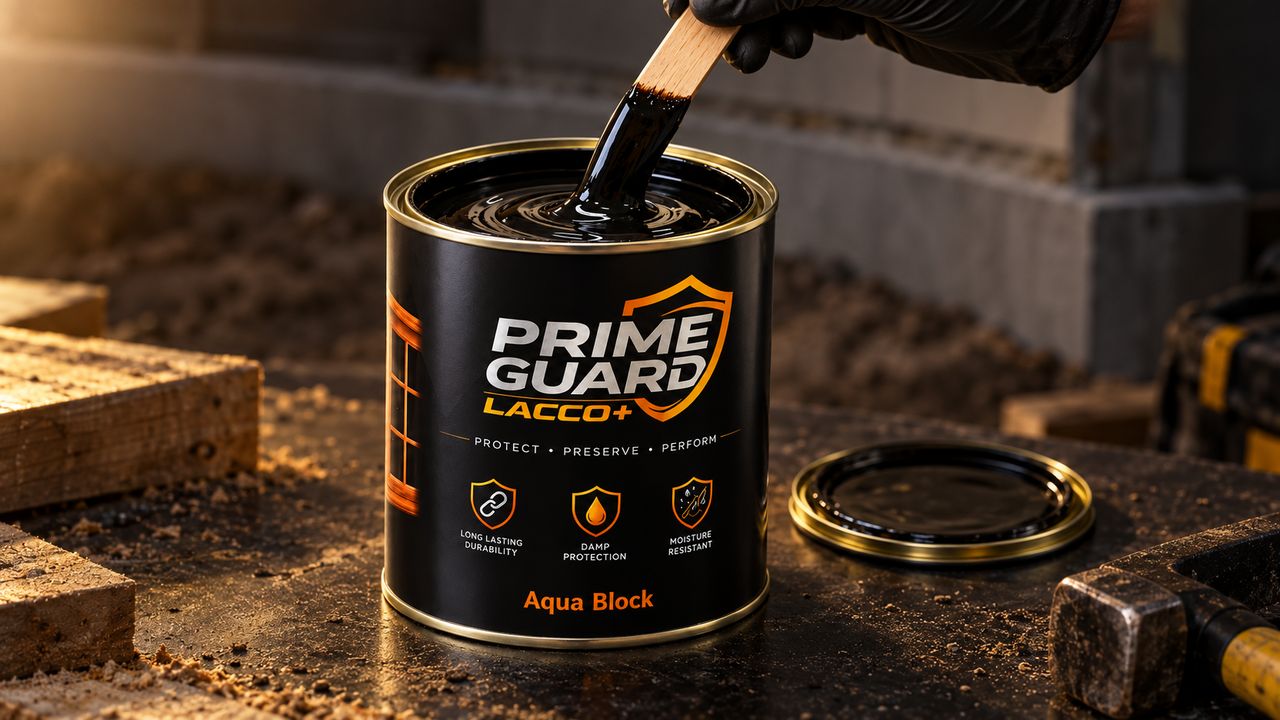
02 Step 2 of 6
Stir well before use
The protective solids settle while the tin stands. Stir from the bottom until the colour and the body are even the whole way through.
Stir thoroughly, lifting from the bottom of the tin, every time you start.
Do not thin it. AQUA BLOCK is direct apply — no primer needed.
Keep the container tightly closed after use.
Work in a well-ventilated area, in goggles, mask and gloves.
Direct apply — no primer, no thinner
-
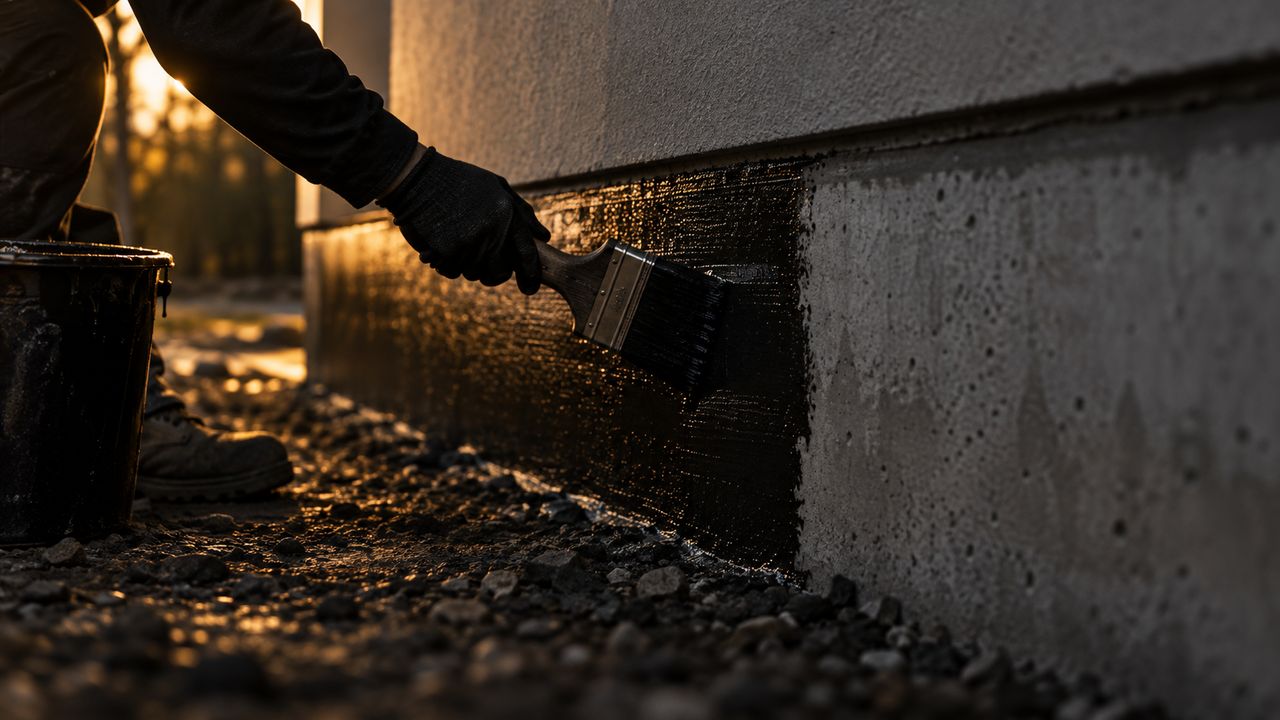
03 Step 3 of 6
Apply using brush or roller
An even coat straight onto the concrete, worked to a visible wet edge along the length of the belt.
Lay an even coat with a brush or roller — no primer first.
Cover the whole masonry contact area, not just the visible face.
Carry the coating into corners, rebates and the junction with the wall.
Do not apply during rain or on a damp surface.
First coat
-
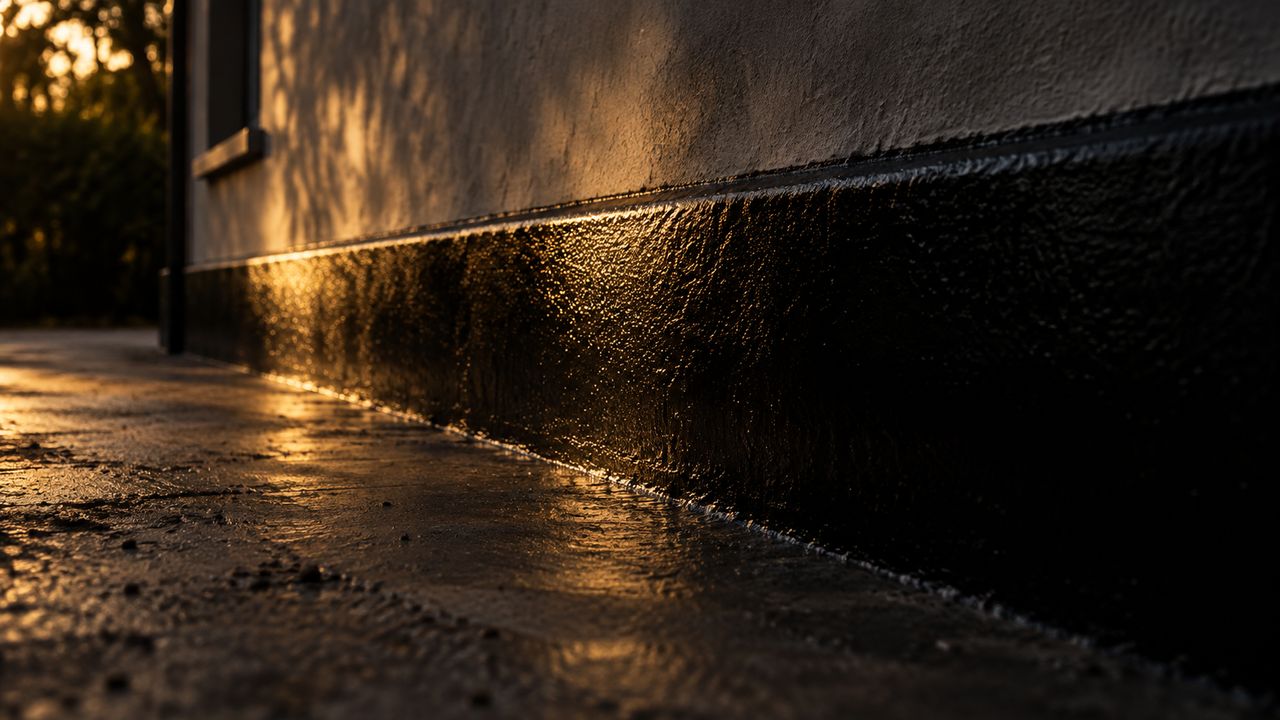
04 Step 4 of 6
Allow to dry 2–3 hours
Let the first coat dry before the second goes on. Two to three hours is the recoat window; humid weather takes the long end of it.
Keep the belt out of rain and splash while it dries.
Touch-test a hidden stretch: dry, not tacky, before you recoat.
Do not let anything be stacked or leaned against the wet film.
Do not force-dry with heat.
2–3 hrs before the second coat
-
05 Step 5 of 6
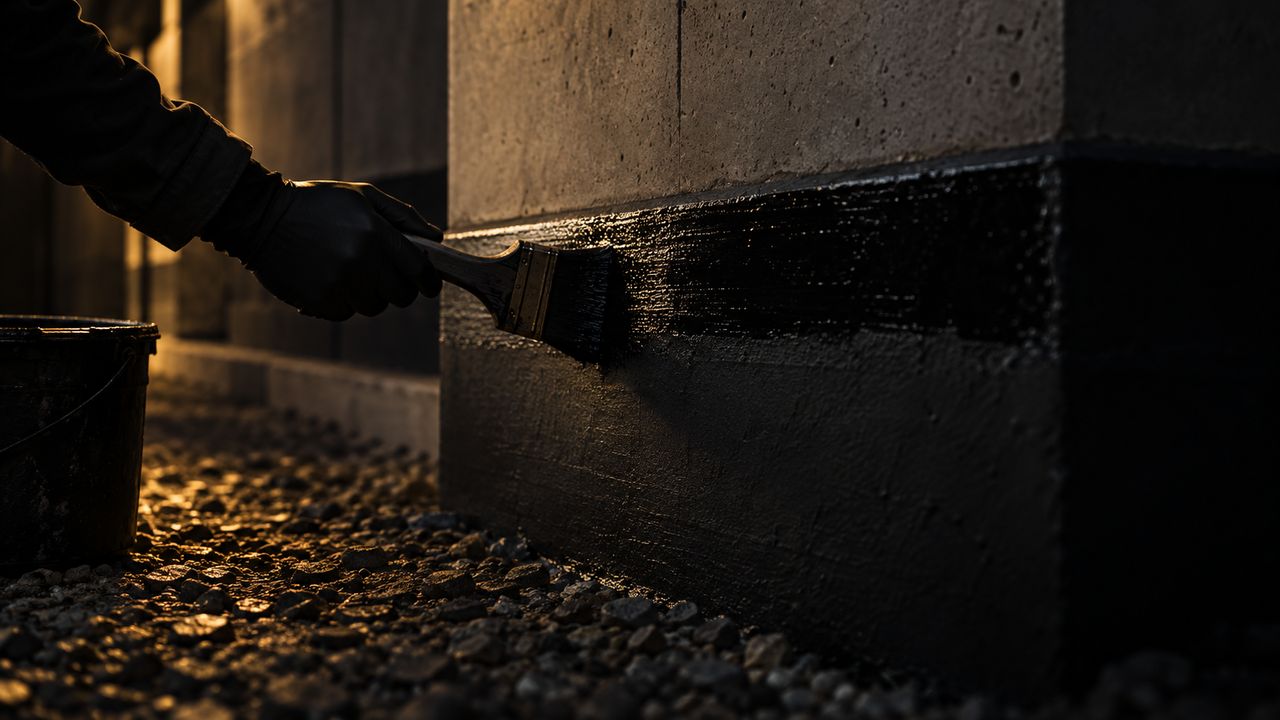
Apply the second coat
The second coat is what closes the barrier across the concrete. Same method, same coverage.
Same even coat, over every stretch the first coat reached.
Look along the belt in raking light for pinholes and thin spots.
Do not stop at one coat — one coat is an unfinished barrier.
Close the tin tightly as soon as you are finished.
Second coat
-

06 Step 6 of 6
Cure before any water
Allow complete curing — 5–8 hours for a hard dry — before the surface is plastered, backfilled or sees water.
5–8 hours for a hard dry, and complete curing before exposure to water.
Only then plaster, backfill or build against the coated face.
Water should sheet off the belt and leave the wall above dry and unstained.
Store the remaining tin closed, cool, dry and out of direct sunlight.
Hard dry 5–8 hrs


Reference
Timings & safety
Timings
- Coats
- 2
- Recoat after
- 2–3 hrs
- Hard dry
- 5–8 hrs
- Primer
- None
- Net content
- 1 Litre
Safety
- Avoid contact with eyes and skin.
- Wear goggles, a dust mask and gloves.
- Do not breathe in vapour or spray.
- Use in a well-ventilated area.
- Keep out of reach of children.
Storage
- Close the container tightly after use.
- Store cool and dry, out of direct sunlight.
- 24 months unopened, from the date of manufacture.
- Coverage varies with surface condition, roughness and film thickness.
Unsure about a junction on your site?
Send us a photo and the substrate and we will tell you which product to use and how much you need.