
For wood & plywood
Wood Seal®
Block moisture. Fight termites. Protect wood.
For wooden door frames, window frames, partitions and plywood. Two coats on every face, with the faces that will sit against wall, concrete or flooring treated as the important ones — because they are.
- 6 steps
- 2 coats
- Direct apply
- Recoat 3–4 hrs
- Hard dry 5–8 hrs
Applying Wood Seal, step by step
-
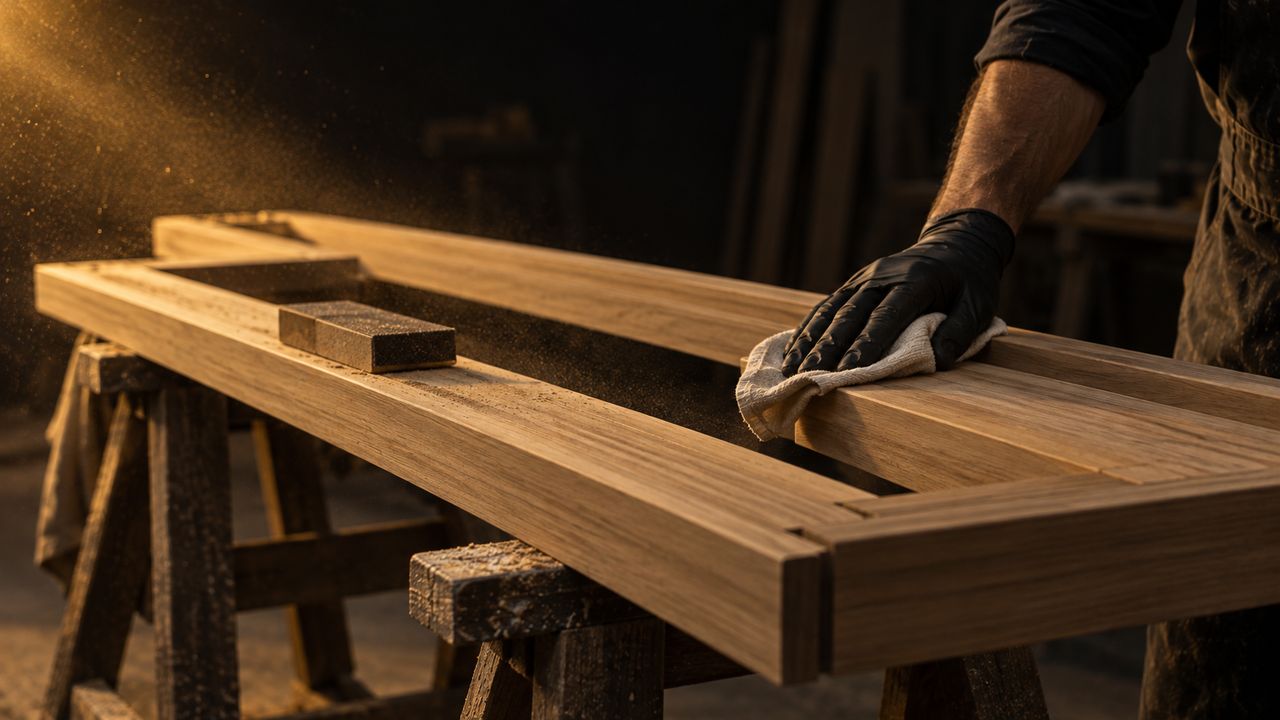
01 Step 1 of 6
Surface preparation
The film only bonds to bare, sound, dry timber. Anything left on the surface — dust, oil, grease, loose fibre — ends up trapped under the coating.
The wood must be clean and dry, free from dust, oil, grease and loose particles.
Sand back rough patches and old flaking finish, then wipe the dust off.
Never coat wet wood. Timber that has been rained on has to dry out first.
New or old timber both take the coating; the condition of the surface is what matters.
Do not rush this — most failures start here
-
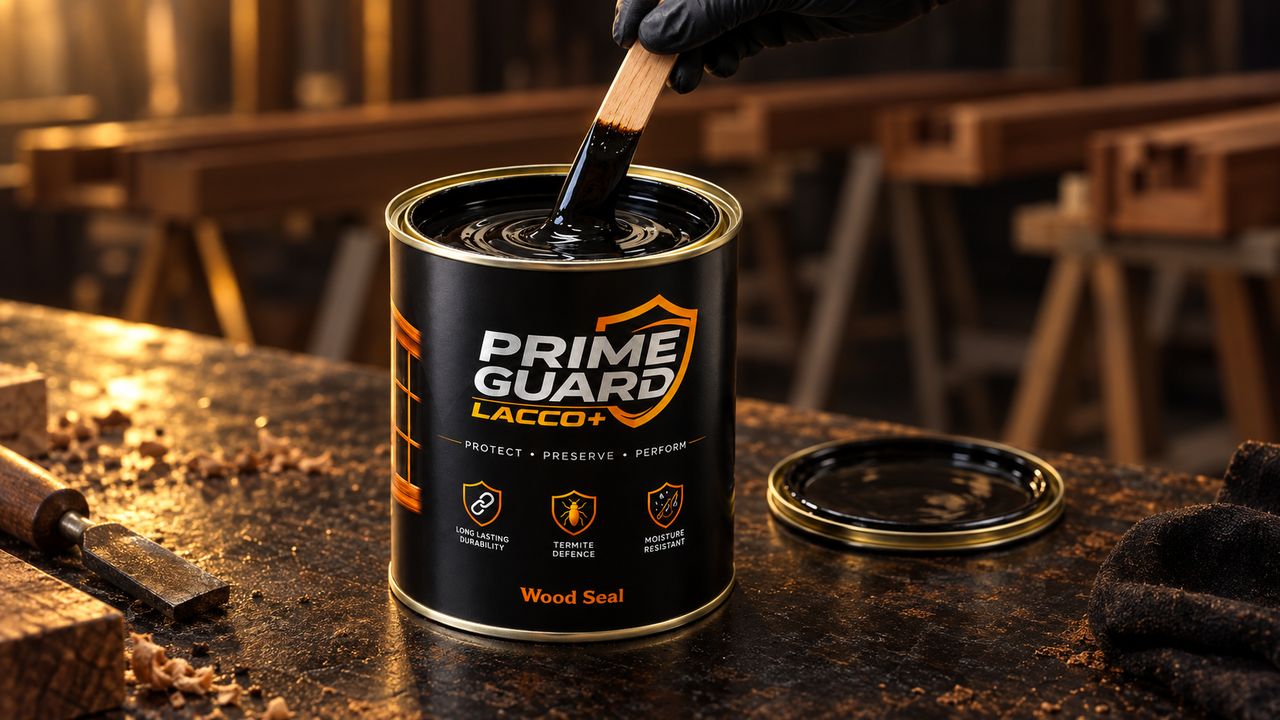
02 Step 2 of 6
Stir well before use
The protective solids settle while the tin stands. Stir from the bottom until the colour and the body are even the whole way through.
Stir thoroughly, lifting from the bottom of the tin, every time you start.
Do not thin it. WOOD SEAL is direct apply — no primer, no dilution.
A PRIME GUARD brush gives the best result.
Close the container tightly again as soon as you have what you need.
Direct apply — no primer, no thinner
-
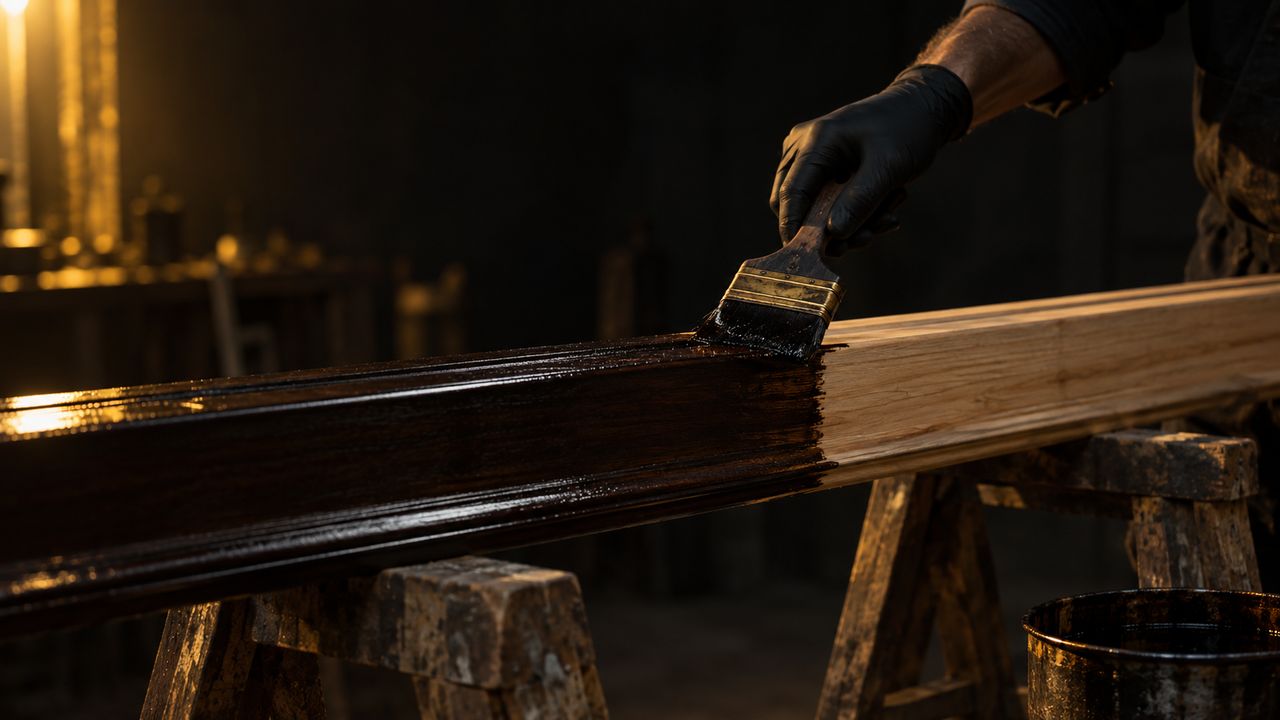
03 Step 3 of 6
Apply using brush or roller
Straight onto the timber, an even coat with a brush or roller. Work to a visible wet edge so no strip of the frame gets missed.
Lay an even coat — flooding it on does not make it stronger.
Cover all sides, including the back and the edges nobody will see.
Give extra care to faces that will contact wall, concrete, flooring or masonry.
Do not let it pool in rebates and joints; brush the excess out.
First coat
-
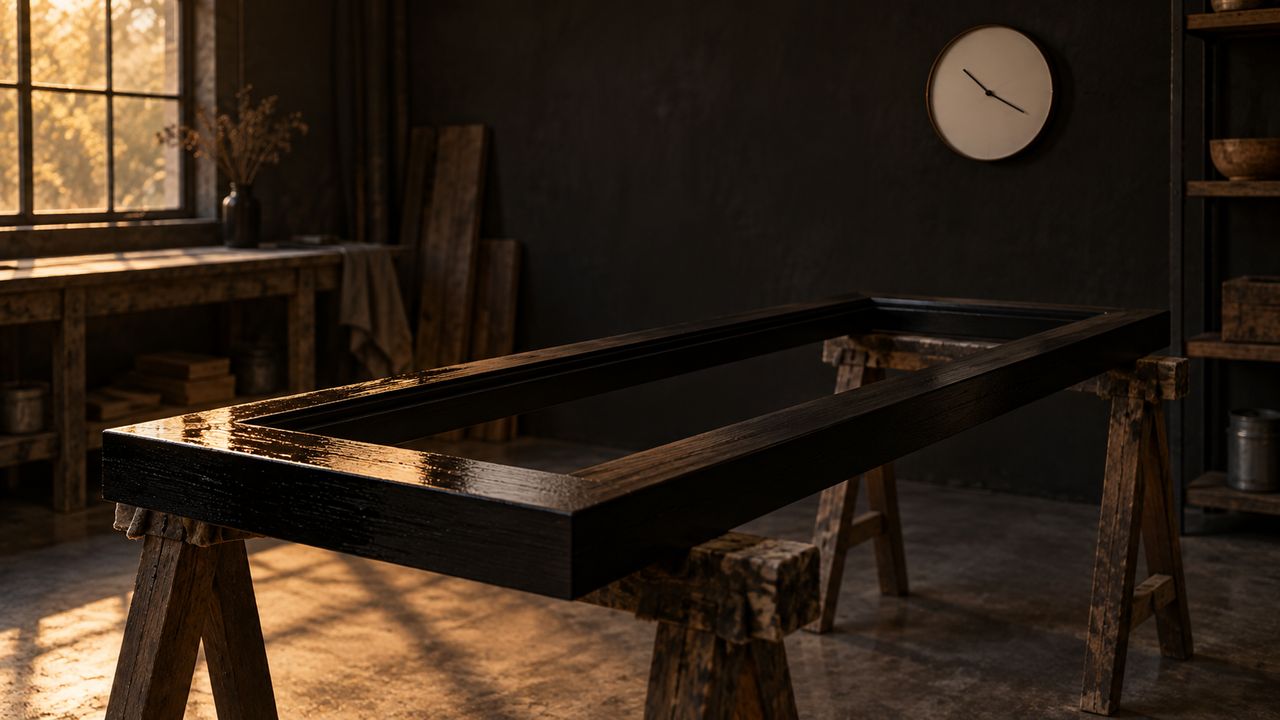
04 Step 4 of 6
Allow to dry 3–4 hours
Let the first coat go off properly before the second goes on. The tin's minimum recoat window is 2–3 hours; in Kerala humidity give it 3–4 and the second coat lays down better.
Keep the members out of rain, spray and settling dust while they dry.
Touch-test a hidden edge: it should be dry, not tacky, before you recoat.
Do not force-dry with heat; let it cure at its own pace.
Leave them on trestles so air reaches every face.
3–4 hrs before the second coat
-
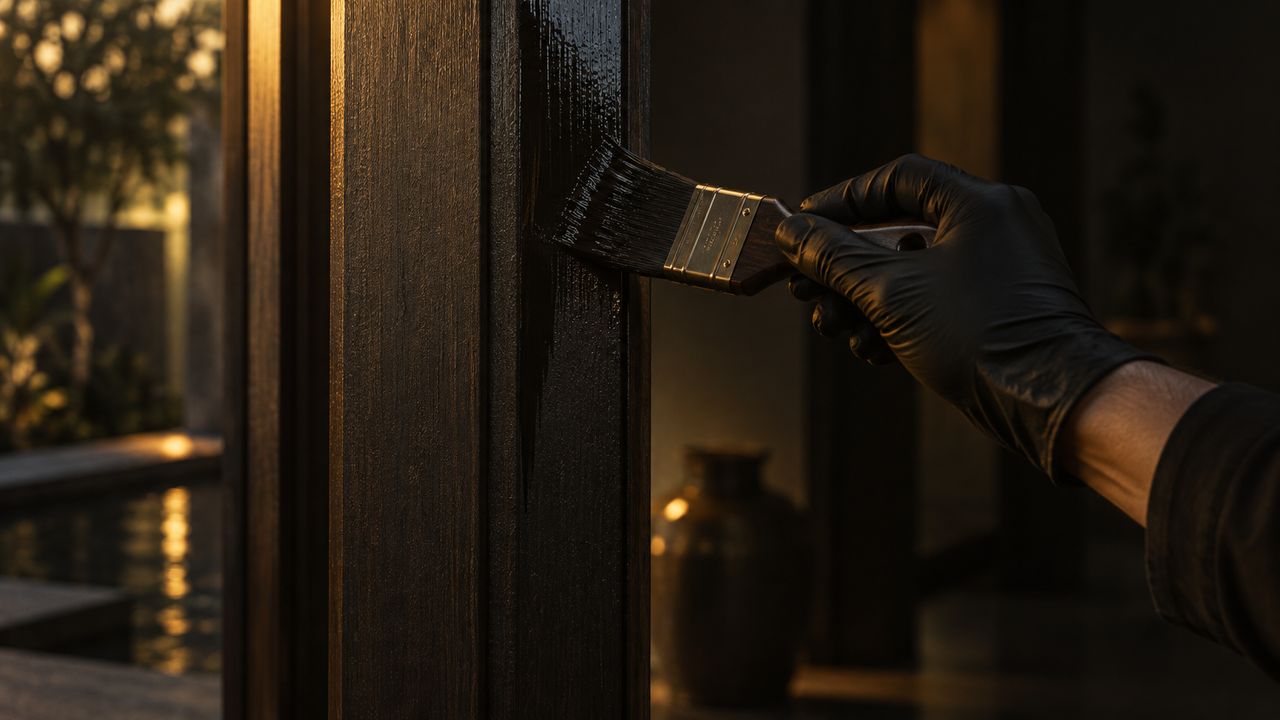
05 Step 5 of 6
Apply the second coat
The second coat is the one that closes the barrier. On timber it is not optional, and it goes on exactly like the first.
Same even coat, same brush or roller, every face again.
Walk the frame afterwards and check for thin spots, misses and dry edges.
Pay the same attention to the contact faces as you did on the first coat.
This is what gives maximum protection — one coat is an unfinished job.
Second coat
-

06 Step 6 of 6
Finished good
Allow 5–8 hours for a hard dry and full cure. Then the frame can be fixed, finished or built against, and water beads off it instead of soaking in.
5–8 hours for a hard dry before installation or finishing.
Water should sit up in beads on the surface, not spread and darken it.
The barrier stays breathable, so moisture already in the timber is not sealed in.
Store the remaining tin closed, cool, dry and out of direct sunlight.
Hard dry 5–8 hrs


Reference
Timings & safety
Timings
- Coats
- 2
- Recoat after
- 3–4 hrs
- Hard dry
- 5–8 hrs
- Primer
- None
- Net content
- 1 Litre
Safety
- Avoid contact with eyes and skin.
- Wear goggles, a dust mask and gloves.
- Do not breathe in vapour or spray.
- Use in a well-ventilated area.
- Keep out of reach of children.
Storage
- Close the container tightly after use.
- Store cool and dry, out of direct sunlight.
- 24 months unopened, from the date of manufacture.
- Coverage varies with surface condition, roughness and film thickness.
Unsure about a junction on your site?
Send us a photo and the substrate and we will tell you which product to use and how much you need.